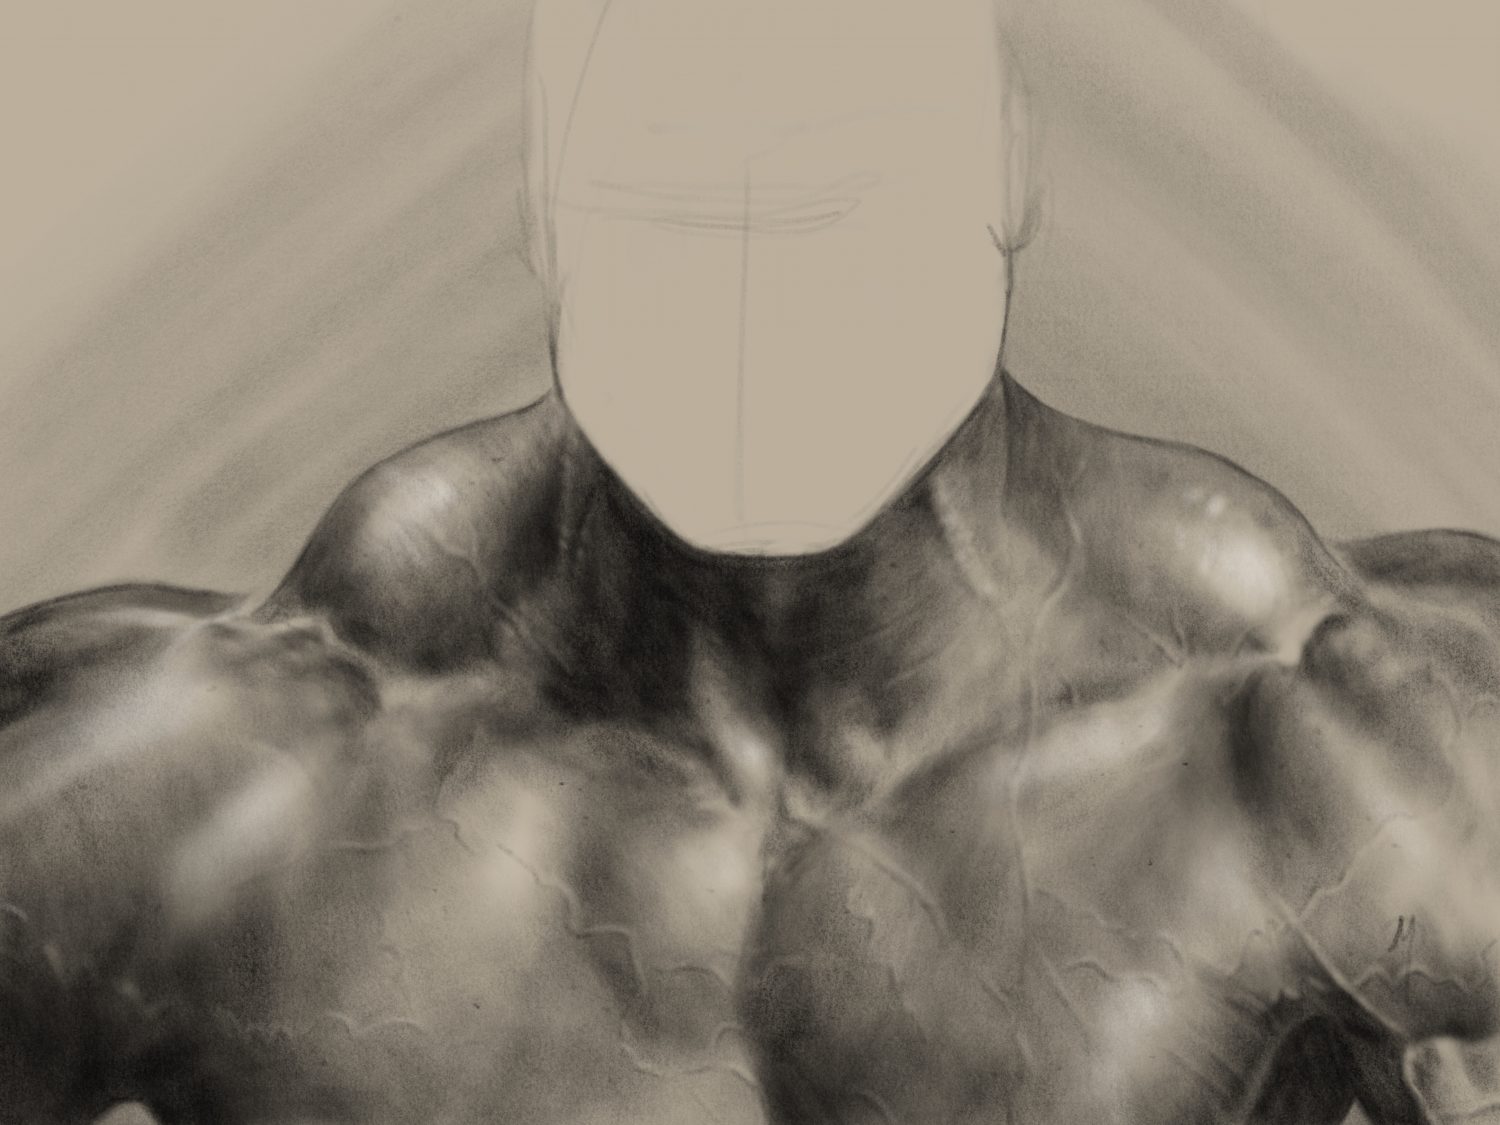
How to Draw a Neck with Digital Charcoal in Procreate
| Tags: Procreate | Author:I’ve been doing a few studies in Procreate lately and this is a rendering of the neck. The point of these studies is first to get comfortable in Procreate as I’m trying to move further into digital drawing. I picked up an iPad Pro and Apple Pencil in December and knowing the history of the Procreate App, it was the first app installed on my new tablet.
Many people don’t like the slick glass feel of drawing on the iPad but I’ve found it to be enjoyable and I don’t mind it in the slightest. To me, it’s just a different medium, like moving from a pad of newsprint over to a nice sturdy sheet of Bristol. Sure, they feel different, but once you get used to it, you don’t mind it, and that’s exactly how it was for me when it came to digital drawing on the iPad. Now I almost prefer it.
Choosing References
Whenever I move into a new drawing the reference is the most important part, you have to have nice well-lit references when diving into something like this. Sure you can draw from memory but you will be missing out on some important aspects of how the muscles tie together. Especially when doing a study, the entire point is to learn something from the subject instead of drawing what you think you know. There is no way I would be able to get the intricate little details such as where the trapezoid ties into the deltoid and you get that little bit of light reflecting on the plane between the muscles. I’m not just simply copying, but interpreting and presenting how I see it.
For the reference on this, I just turned to Google search since it’s a personal study. However, moving into a professional realm you either need to extensively modify the final or take your own references. Of course, talking your own references is always challenging since most people, in this case, don’t have a bodybuilder readily available.
Landmarks of the Neck: Bones, Cartilage, Muscle Insertions
Since all muscles lay over the bone, there are areas where the bone is noticeable and we reference these as landmarks. In the neck, you will notice a bump on the neck most people refer to as the Adam’s Apple. This bump is part of the larynx called the thyroid cartilage and it sits right below the hyoid bone, often this bump from the cartilage is more noticeable in males than females due to that angle in which it sits.
Levator Scapulae
The levator scapulae serve a crucial role in pulling the scapulae, the two flat bones you can see pushing out on many peoples backs. In this drawing at this angle, you don’t see much of this muscle, but at any other angle it is very noticeable and makes up a large portion of the neck. It connects at the base of the skull and runes clear down to the scapulae.
Sternocleidomastoid
Though you may not recognize the name, the sternocleidomastoid is the muscle you are probably the most aware of in the neck and probably take notice of when talking to various people This muscle is the V shape you see in the neck and it exaggerates drastically when people move there head side-to-side. This muscle is responsible for the side-to-side pull of the skull as well as downward pull. The most noticeable landmark of this is the pit it makes at the base of the neck.
Trapezius
The trapezius muscles is a large muscle that is often prominent on the upper back and plays an important roll in tilting and turning the head. Though usually considered a large portion of the upper back, there is a muscles insertion at the base of the skull that ties into the shoulders, then down the spine.
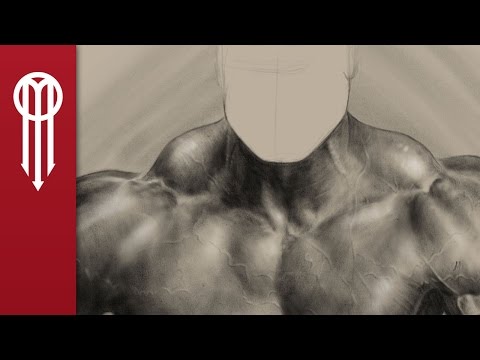
The Drawing Process
This drawing of a neck study in Procreate is a non-narrated time-lapse drawing. If you like what you see here and want to learn the process, I have a traditional medium Figure Drawing Fundamental course that goes over the drawing process in depth in real time and is fully narrated where you can see every step. I use the same methods drawing digitally as I do traditionally so you can learn the entire process in my course that is priced for anyone to be able to afford.
A quick rundown of the drawing process
-
Gesture Sketch: I always start with a quick gesture, this is a very rough sketch and a lot of the lines are slightly out of place and require adjustments. This gesture sketch is incredibly important as it’s what adds the initial life to your drawing and also gives you some good ideas of where the landmarks may lie. Once the gesture drawing is in place, it’s time to lay out the structural line drawing. This drawing stage is where you take your time and make all the important measurements. I draw in straight lines, even if the line is curved in the end, and I measure a lot! During this stage is where you determine the proportions. If you skip this stage, chances are you are going to be fighting with proportion issues during the rest of the drawing and in the end, you will still have a drawing that is incorrectly proportioned.
-
Mapping Shadows: You need to map in all your shadows to figure out what shadow shapes they have. With the shadow shapes in place, it’s time to start rendering. I build up the values very slowly and once I have a few confident areas laid in, I begin to darkest them down to determine what I want my darkest dark to be and lay in a small patch for guidance. From here is the easiest stage but also the most time-consuming.
-
Rendering: Now you’ve laid down all the base work and figuring out all the proportions, figuring out where the light is and what the shadow shapes are, it’s time to build up the charcoal. Start light and continue to darken down the forms until they all appear nice and have the proper forms.
-
Final Details: Start laying down the details such as freckles and veins. You will see me throw some of this stage in early, but I only do that if I have completed the rendering to that section or I need to build over those areas and incorporate them. This stage is usually very last.


If you like that course, you might like my course on How to Paint Angel Wings that you can find here.