How to Paint Angel Wings
| Tags: Digital Art | Author:This time-lapse video tutorial on how to paint angel wings shows the process of how to paint wings.
When I was working on my angel painting that will be released in the near future, I got to a point where I needed to isolate the wing. I figured this would be a good time to make a process video of how to paint an angel wing. Though this isn’t narrated, I felt it would still be a good watch-and-learn how to paint angel wings video.
How to paint angel wings
When painting wings, it’s good to reference other wings of the type of bird that you want to paint. I’ll admit, I could have done better on that section as I was forced to fight with the painting a bit because I didn’t put the time up front that I should have. I wanted the wings to have their own look, but they ended up lacking the anatomy I needed and I had to make adjustments to fix the issues later. Don’t take shortcuts, they always come back and get you in the end.
To start, you want to lay out the entire design with some form of line. You don’t have to be very detailed. These wings didn’t take me a ton of time to lay out as I didn’t add any detail, I just put as much information into them as I need to so I could make a successful wing painting.
Once I had the wing drawing done it was time to add some color. I added a layer under the wing drawing which I then added a solid brown too. After that, I added a bit of blue for the reflected light as the main painting also has the same blue background. The secondary light acts in place of the reflected light as well. This section is added very quickly in the video.
Adding light to the angel wing
From there, I started adding a bit of light to figure out where my source is coming from which was essentially overhead and a little forward. The wing would also be catching some backlighting so I added some visual notes on the bottom of the wing to keep me from forgetting about that.
From here, I continue to work on the light and start taking into account the light hitting the feathers but also the feathers creating a bit of a shadow where some go under the others.
As I build out the center section of the wing I try to resist the temptation of adding too much light too fast so you see me going back and forth adding a bit of light to the wings and then blending the shadows. This is working on creating the illustrious of form.
As I work, I turn the line drawing on and off so I can see what it looks like as a whole without the lines, but also to make sure I am the entire drawing holds together without them. Once I am comfortable I remove the lines completely from the center and start building the outer part of the wing.
Even though I am moving to the outer portion of the wing, I will continue to revisit the center to make sure my values stay consistent throughout the piece.
Finishing the angel wing
Once further into the drawing and the bases are established the remainder goes fairly quickly and I am also allowed to bring in some details. As I progress, I start adjusting the colors as well to bring in some of that warm direct light and the cool reflected light.
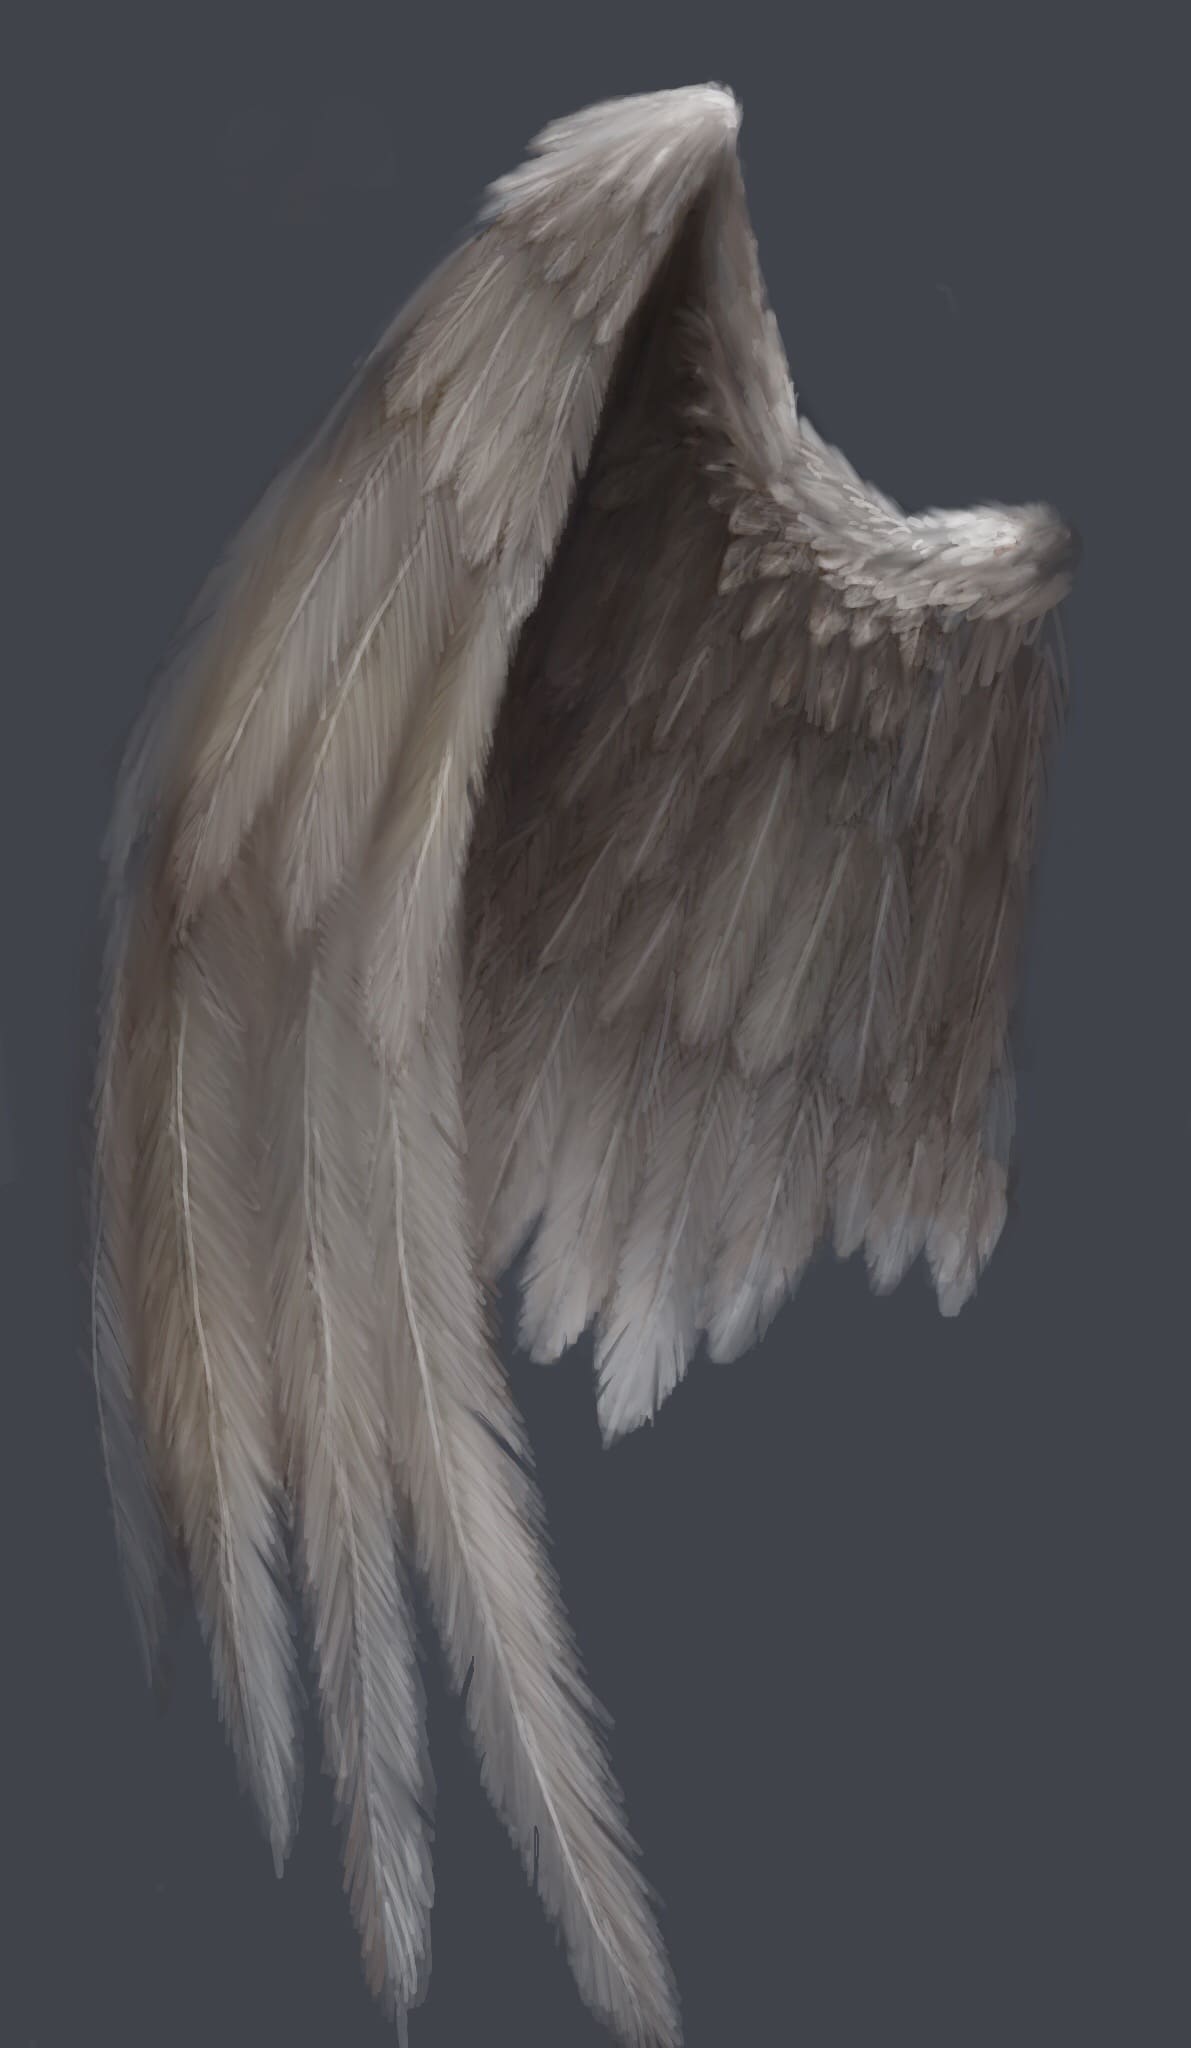
A couple more details and blending of the feathers in the obscure shadow areas I am able to call this wing complete for what I need it for. Once in the larger angel painting, I will continue to refine it a bit more and unify it with the larger painting.
And that concludes the How To Paint Angel Wings tutorial. If you have any questions feel free to leave them in the comments below. If you know someone this might help out, please feel free to share. If you would like to follow me on instagram, click find me here.